Traditional Irish Soda Scones
Rustic Irish Soda Scones — Buttermilk Gems with Old-World Charm
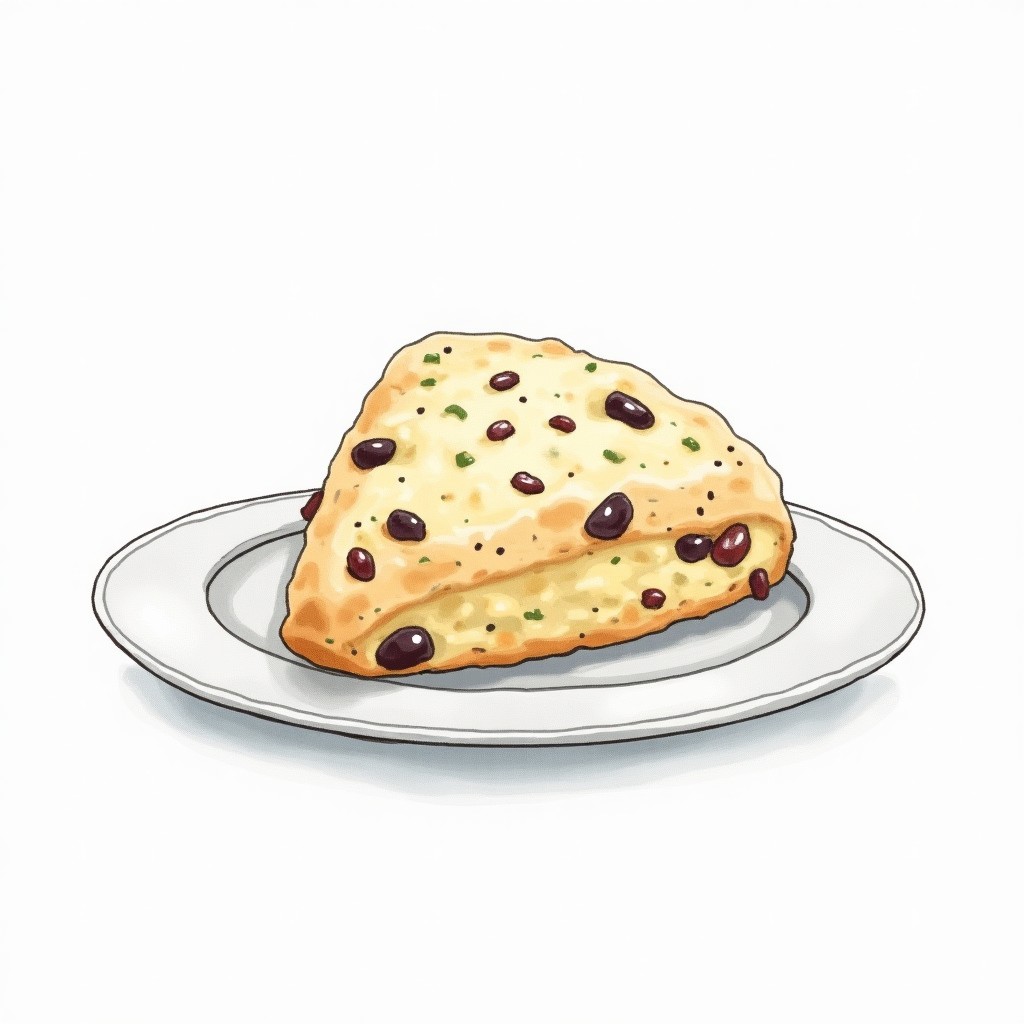
These scones capture everything wonderful about traditional Irish baking: simple ingredients that work together beautifully, a tender crumb with just enough structure, and that distinctive tangy bite from real buttermilk. They're ready in half an hour and taste like they came from a countryside bakery.
IrishBreakfastVegetarianQuick MealsBaking
Nutrition
Ingredients
- 2 cupall-purpose flour, spooned and leveled
- 2 tbspgranulated sugar
- 1 tspbaking soda
- 1 tspfine salt
- 4 tbspcold unsalted butter, cut into small cubes
- ¾ cupcold buttermilk
- 1 largelarge egg, lightly beaten
- ½ cupcurrants or golden raisins(optional)
Instructions
- Heat your oven to 425°F and line a baking sheet with parchment paper. This high temperature creates the perfect balance between a golden exterior and fully cooked interior.
- Combine the flour, sugar, baking soda, and salt in a large mixing bowl, whisking them together until evenly distributed. The baking soda is what gives these scones their characteristic rise and slightly alkaline flavor that plays so well with the acidic buttermilk.
- Add the cold butter cubes to the flour mixture and work them in with a pastry cutter or your fingertips until the mixture looks like coarse breadcrumbs with some pea-sized butter pieces remaining. These butter bits create flaky layers as they melt in the oven.
- Scatter in the currants or raisins if you're using them, tossing gently to coat them with the flour mixture. This prevents them from sinking to the bottom during baking.
- Create a well in the center of your flour mixture and pour in the cold buttermilk and beaten egg all at once. The temperature contrast helps keep the dough tender.
- Using a fork, stir the mixture just until the dough comes together in shaggy pieces. Stop as soon as you don't see dry flour—overmixing develops the gluten and makes tough scones instead of tender ones.
- Turn the dough out onto a lightly floured surface and gently pat it into a circle about 8 inches across and roughly 3/4 inch thick. Handle it as little as possible—think of it as coaxing rather than kneading.
- Use a sharp knife to cut the dough into 8 equal wedges, wiping the blade clean between cuts. Clean cuts help the scones rise evenly rather than sealing the edges.
- Transfer the wedges to your prepared baking sheet, leaving about 2 inches between each piece to allow for expansion. They'll nearly double in size as they bake.
- Bake for 16-18 minutes, until the tops are golden brown and the scones sound hollow when tapped on the bottom. They should feel firm but still give slightly when pressed gently on top.⏱ 18 min