Classic Buttermilk Scones
Buttermilk Scones That Actually Taste Like Something
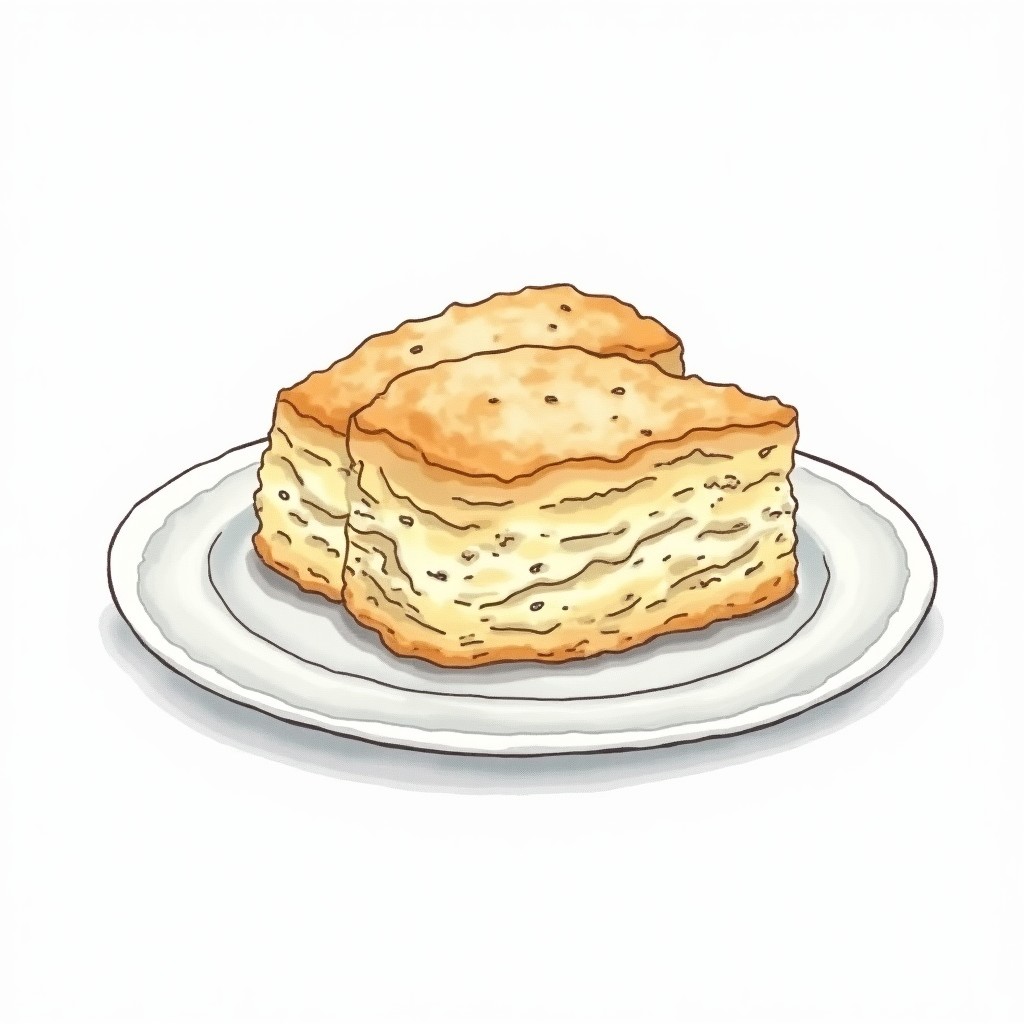
Here's the thing about scones — most are dry, flavorless doorstops that need jam to be edible. These aren't those scones. The buttermilk gives them a subtle tang and keeps the crumb impossibly tender, while proper technique creates layers that split apart beautifully when you break them open.
EnglishBreakfastBrunchQuick MealsBaking
Nutrition
Ingredients
- 2 cupall-purpose flour
- 2 tbspgranulated sugar
- 1 tbspbaking powder, fresh for best rise
- ½ tspfine salt
- 6 tbspunsalted butter, cold from the fridge and cubed
- ¾ cupbuttermilk, cold and well-shaken
- 2 tbspheavy cream for brushing tops
Instructions
- Get your oven heating to 425°F and line a baking sheet with parchment paper. This high heat creates steam quickly, which gives you those flaky layers.
- Whisk together the flour, sugar, baking powder, and salt in a large bowl until evenly combined. No lumps of baking powder hiding anywhere — they'll create bitter pockets.
- Add the cold butter cubes and work them into the flour using a pastry cutter or your fingertips. Stop when you have a mixture that looks like coarse meal dotted with pea-sized butter pieces — these butter bits will create steam pockets and flaky layers.
- Create a well in the center of your flour mixture and pour in the cold buttermilk all at once. Using a fork, gently stir from the outside in until the dough just barely holds together. It should look shaggy and a bit rough — overmixing kills the tenderness.
- Dump the dough onto a lightly floured surface and knead it gently just 2-3 times — enough to bring it together but not enough to develop gluten. Your hands should barely touch it.
- Pat the dough into an 8-inch circle that's about ¾-inch thick. Use your palms, not a rolling pin — you want to keep those butter pieces intact for maximum flakiness.
- Use a sharp knife or bench scraper to cut the circle into 8 equal wedges, like you're cutting a pizza. Clean cuts help the scones rise evenly without sealed edges.
- Transfer each wedge to your prepared baking sheet, leaving about 2 inches between them. They'll puff as they bake and you don't want them sticking together.
- Brush the tops with heavy cream — this gives you that beautiful golden color and helps any toppings stick if you want to add them later.
- Bake until the tops and bottoms are golden brown and the scones feel set when you gently press the sides. They should sound slightly hollow when tapped.⏱ 18 min
- Let them rest on the baking sheet for 5 minutes — this brief cooling keeps them from falling apart when you move them, but they're still warm enough to melt butter.⏱ 5 min